As one of the most widely-used media players, VLC boasts a range of impressive features, one of which is seamless subtitle integration. Whether you're watching a foreign film, an anime series, or simply want subtitles for better accessibility, VLC allows you to add and customize them with ease.
If you're wondering how to add subtitles in VLC player, the process is straightforward. VLC allows you to load external subtitle files or automatically search for subtitles online, providing you with options tailored to your needs. For those looking to enhance their experience further, knowing how to add subtitles on VLC media player can help you take full advantage of its robust features, such as syncing, adjusting subtitle size, and styling for readability.
In addition to VLC’s capabilities, this guide also introduces an AI-based alternative that simplifies the process even further. Whether you're a casual viewer or a professional content creator, mastering how to add subtitles in VLC player or exploring other advanced tools ensures that your videos are accessible, engaging, and enjoyable for all audiences.
Table of Content
- Supported Subtitles Formats and Videos for Adding Subtitles in VLC
- Things to Know Before Permanently Adding Subtitles in VLC
- How To Add Subtitles to a Video in VLC on Windows
- How To Add Subtitles to a Movie in VLC on Mac
- How To Customize Add Subtitle Settings in VLC
- An AI-powered Alternative to VLC for Auto Generating Subtitles

- Conclusion
- FAQs
Part 1: Supported Subtitles Formats and Videos for Adding Subtitles in VLC
VLC is a versatile media player that goes far beyond simply playing video files. It serves as a comprehensive tool for a wide range of tasks, including downloading videos, converting them from one format to another, and even repairing corrupted files. These features make VLC a go-to choice for users seeking a reliable and multifunctional media player.
One of VLC's most impressive capabilities is its seamless support for subtitles. If you're wondering how to add subtitles in VLC player, this powerful tool allows you to load external subtitle files or automatically sync subtitles with your video. Moreover, mastering how to add subtitles on VLC media player ensures you can fully utilize its functionality, enhancing your viewing experience for everything from foreign films to training videos.
Beyond its subtitle integration, VLC's biggest advantage lies in its unparalleled compatibility with nearly all standard video, audio, and text file formats. Whether you’re managing a diverse media library or tackling complex file issues, VLC provides an all-in-one solution for effortless playback and customization.
Supported subtitle formats include:
|
|
|
Supported video formats include:
|
|
|
Therefore, regardless of the video and subtitle formats you're using, you can easily use VLC to add subtitles permanently.
Part 2: Things to Know Before Permanently Adding Subtitles in VLC
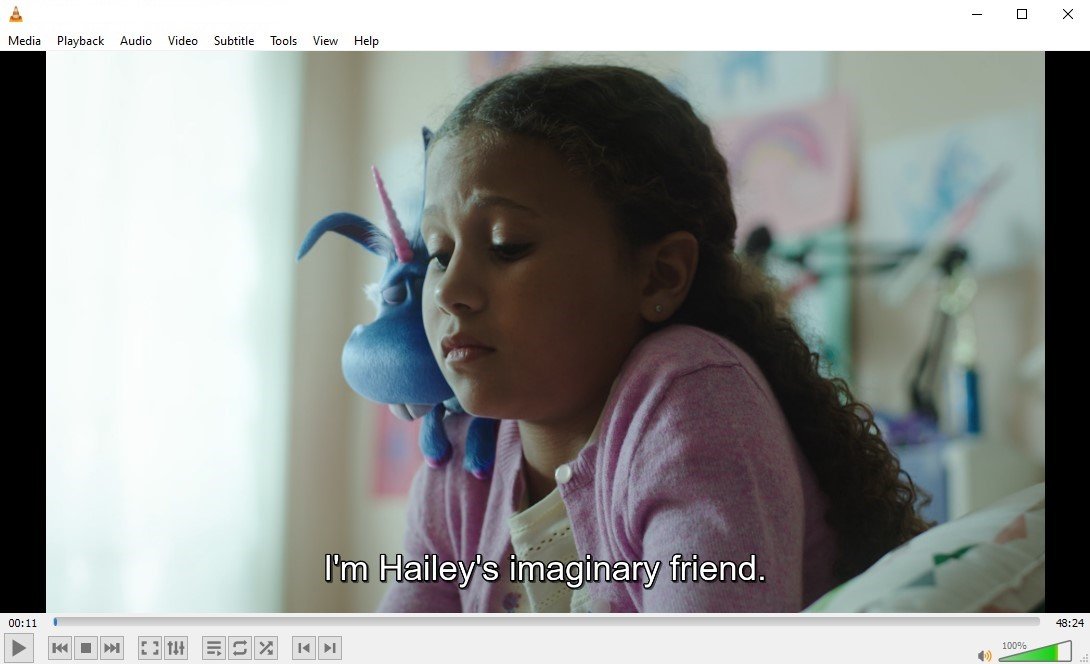
With VLC, there are two main ways you can add subtitles to a video. You can simply open the separate video and subtitle files simultaneously, or you can embed the subtitle files into the video. The first approach is great if you need more flexibility during your editing and if the platform you're ultimately publishing your video to requires subtitles to be uploaded separately.
The second approach is better if you want to upload your video and subtitle files together, ensuring that subtitles are always on for your audiences. However, if you hardcode your subtitles, there's no turning back. You can't edit them, fix accidental spelling mistakes, add punctuation marks, or fiddle with them in any way.
So, you'll want to ensure your subtitles are perfect before embedding them permanently into your videos.
Part 3: How To Add Subtitles to a Video in VLC on Windows
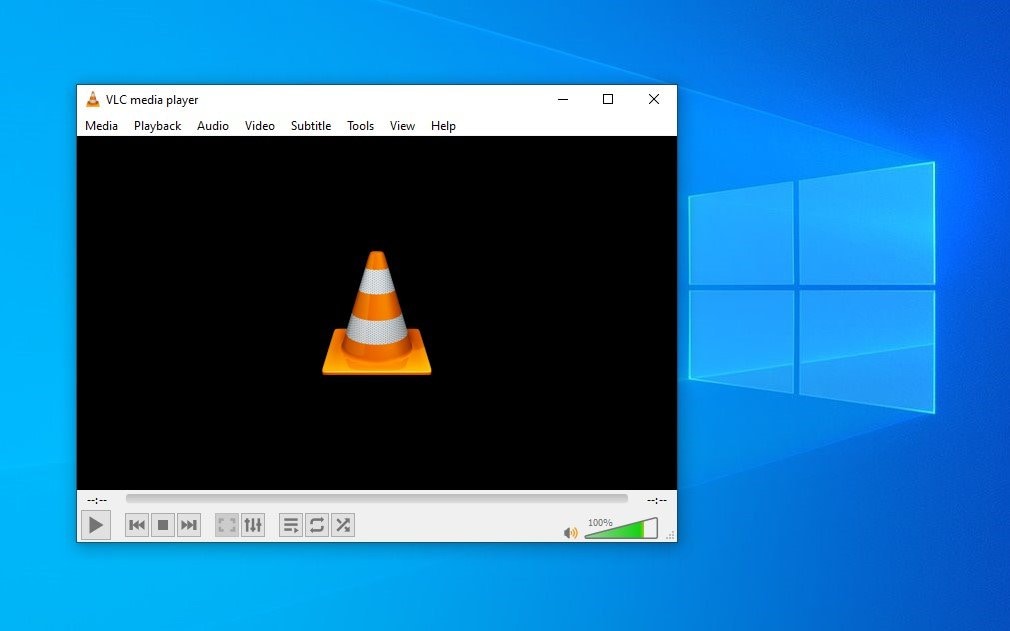
To watch a movie with subtitles in VLC, you'll first need to download the corresponding sub. You can do that from one of countless online subtitle directories or directly through VLC. If you don't have this program, you can get it from the official VideoLAN website. This media player is a free and open-source automatic subtitles generator in VLC, so you don't have to spend a dime to use it.
To download a subtitle through VLC, you'll just have to follow a few simple steps:
- Open the video you want to watch in VLC;
- Go to View > VLsub;

- Select the language you want and put in the video title;
- Click Search by name;
- Select the subtitle file you want to use and click on the Download section.

VLC will automatically add the track to your video, so you can simply start watching. If the subtitles aren't properly synchronized with the video, you can easily adjust them.
For subtitles that are ahead of the audio, press .. This will adjust the subtitle by 50 ms. Continue pressing the G key until the subtitle is properly synchronized. If the subtitle is behind the audio, press ..
You can also adjust the timing by following these steps:
- Open the video and drag-and-drop its corresponding subtitle in VLC;
- Go to Tools > Track Synchronization;
- Set your preferred Subtitle track synchronization in milliseconds.
- Of course, if you want to add subtitles to a video you've created, you'll need to create a subtitle file manually and then simply drag and drop it into your video in VLC.
Whether downloading the subtitle files or creating them yourself, this method will allow you to play your video and subtitles simultaneously. The next time you play the same video, it won't have hardcoded subtitles, and you'll need to add them again.
If you want to permanently hardcore subtitles into your video, you must take a different approach.
Here's how to add subtitles in the VLC media player permanently on Windows:
- Launch the VLC media player;
- Go to Media > Stream;
- Click +Add and select the video you want;

- 4. Check the Use a subtitle file box;
- Click Browse and select the subtitle file you want to use;
- Click Stream > Next;

- Select File and click Add;
- In the new window, click Browse and enter the video's name (with the right file extension);
- Click Save > Next;

- 10. Check the Activate Transcoding box and click on the Wrench icon;
- Go to the Subtitles tab;
- Check the Subtitles and Overlay subtitles on the video boxes;

- Click Save > Next > Stream.
- Give VLC a few seconds to complete processing. From there, your subtitles will be merged with your video.
Part 4: How To Add Subtitles to a Movie in VLC on Mac
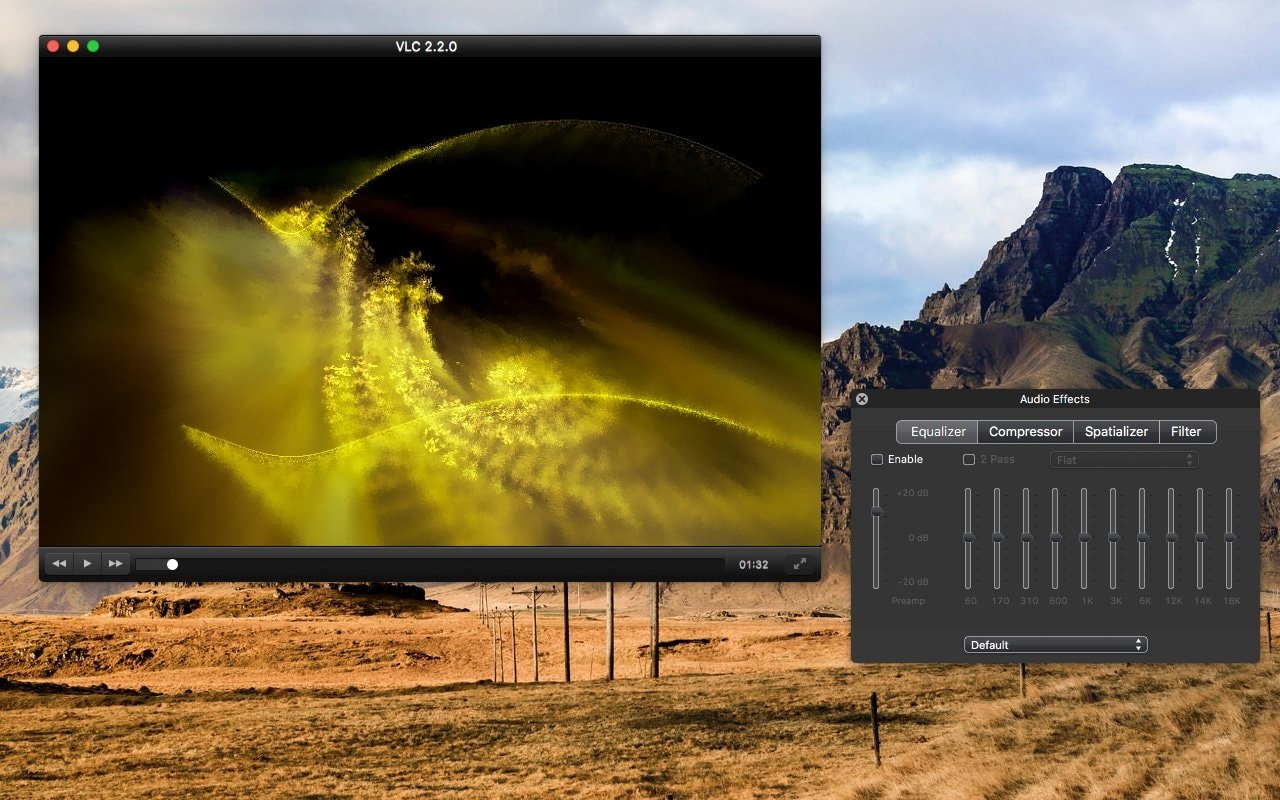
The process for embedding subtitles permanently into a VLC video is slightly different on Mac devices than it is on Windows computers. You can still download the Mac version of VLC for free directly from the official VideoLAN website, and you'll still have access to all the media player's features. However, going about using some of these features is a bit different.
.ust adding subtitles while you're watching a movie is still the same. You'll need to download the appropriate subtitle file and simply drag and drop it into your opened video in VLC. If the subtitle is out of sync, press the . key for subs ahead of the audio and the J key for subs behind it.
Adding permanent subtitles is a different process. Here's how to embed subtitles into video permanently in VLC on Mac devices:
- Launch VLC on your Mac;
- Go to File > Advanced open file;

- Click Browse to find the video you want to use;
- Check the Add subtitle file box;
- Go to Choose > Browse to find the subtitle you want to use;

- Check the Stream output box and go to Settings;
- In the new window that opens, click Browse to set the output Image name and folder;
- Click Save;
- Set the Encapsulation method to MPEG4 and check the Video and Audio boxes;

- Click Ok > Open.
- With that, you'll have successfully added subtitles to your video.
Part 5: How To Customize Add Subtitle Settings in VLC
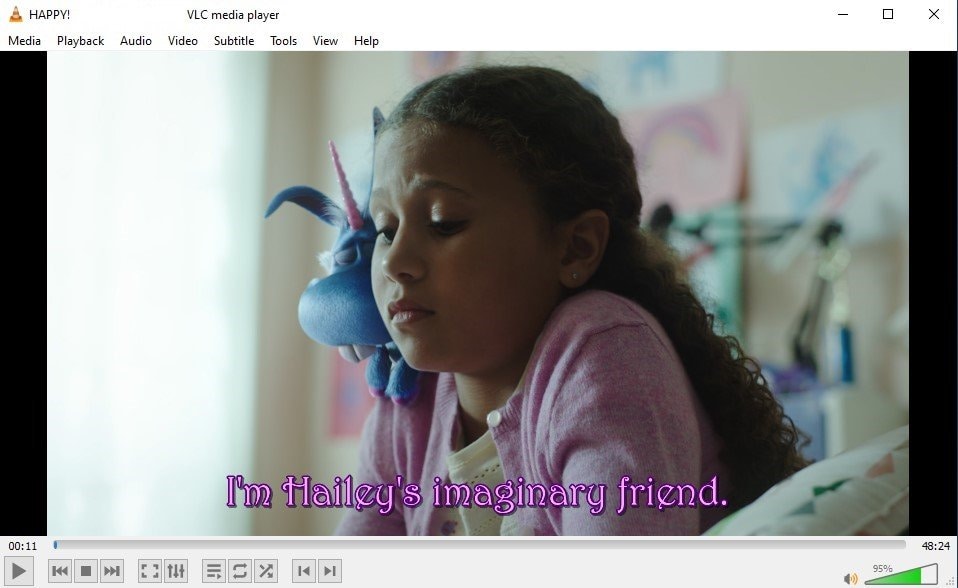
VLC media player doesn't just enable you to add subtitles to your videos, embed them, and ensure they're synchronized. It also allows you to customize your subtitles however you see fit.
You can easily change the subtitle font, size, color, shadow, and more.
The whole process is quite simple:
- Launch VLC;
- Go to Tools > Preferences;
- Navigate to the Subtitles / OSD tab;

- Adjust the position of the subtitles, their font, default color, etc.;
- Click Save.
- Moreover, you can customize the global hotkeys you can use for your subtitles to simplify everything. Go to Tools > Preferences > Hotkeys, then double-click on the action you want to change and press the new key or combination of keys you'd like to use.
Part 6: An AI-powered Alternative to VLC for Adding and Auto Generating Subtitles
Although VLC certainly has plenty of features that let you add and customize subtitles for your videos, there's no denying that things can get a bit convoluted with this media player. VLC only allows you to add/download the already available subtitles. If you want to add subtitles to your brand-new video, you'll need to create them from scratch.
If you don't want to waste your time, you need an AI-powered Subtitle Generator like Wondershare DemoCreator. It is a full-fledged video editor and recorder that comes with advanced caption features and enables you to add, create, adjust, and customize your subtitles with the utmost ease.
With the help of AI and speech recognition technology, this tool automatically generates and synchronizes the subtitles with your audio, so you won't have to spend a minute of your time on subtitle creation.
Available in over 90 languages, all you have to do is click a single button, and your auto-generated subtitles will become instantly available. Of course, due to background noise, different accents, and dialects, there could be minor mistakes in your subtitles, which you could quickly edit before publishing your videos.
How To Use Wondershare DemoCreator to Add Subtitles
If you're interested in generating auto-captions and adding them to your videos with Wondershare DemoCreator, you have to follow just a few easy steps:
- Launch Wondershare DemoCreator and choose Video Editor from the main menu;
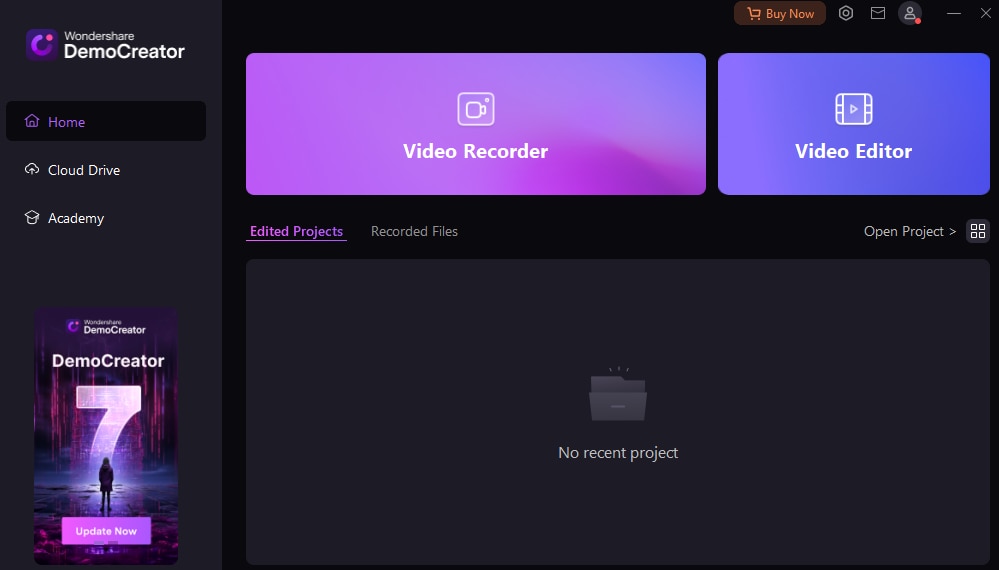
- Go to the Media library and double-click on your video to import the file;
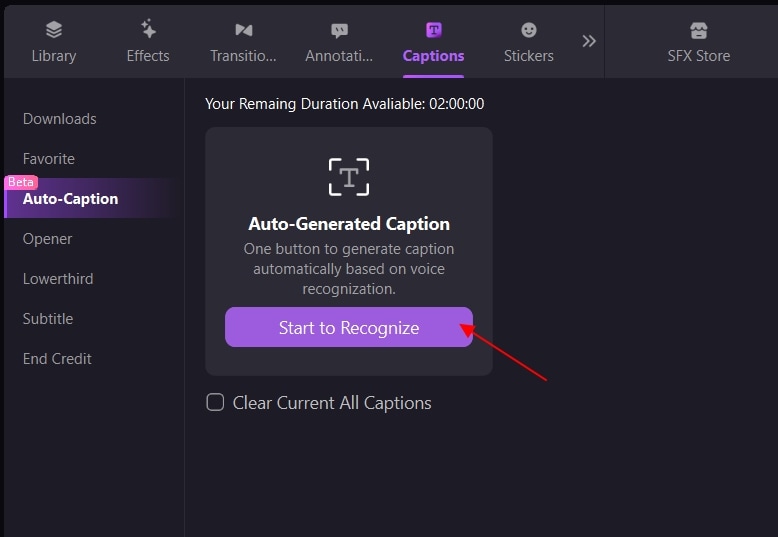
- Go to Captions > Auto-Caption and click Start to recognize;
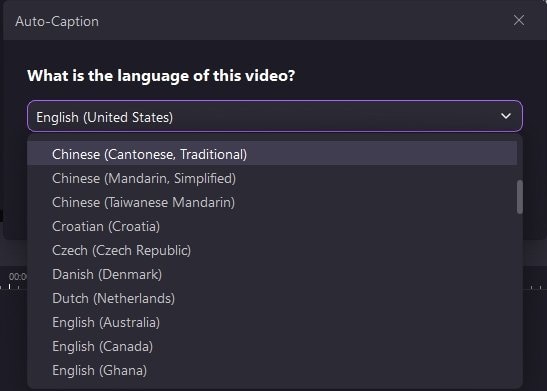
- Specify the language used in the video and click OK;
- The program will start creating and adding subtitle to your video automatically. Wait for a few minutes.
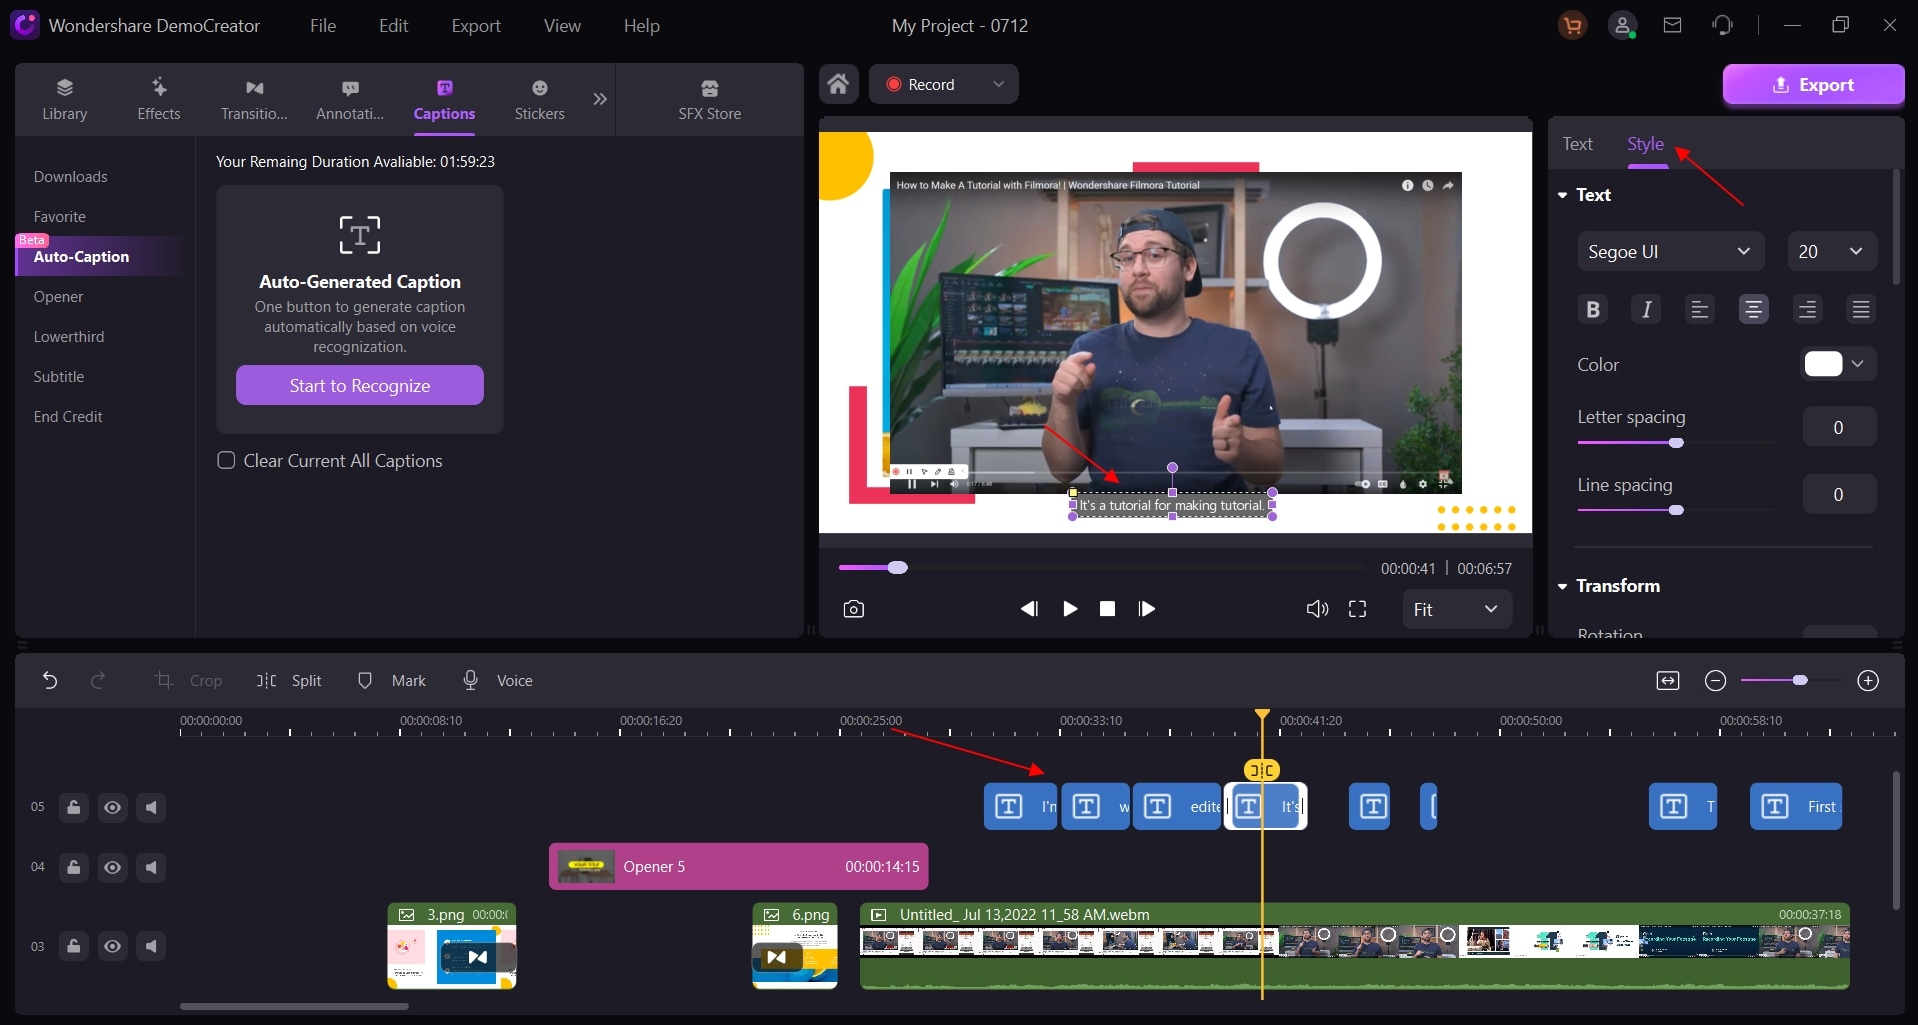
- Once auto-subtitles have been added, click the Export button to export your video with subtitles.

Of course, before you export your video, make sure to go through the auto-generated subtitles in Wondershare DemoCreator and edit any potential mistakes. You can also fully customize the subtitle to ensure that it matches your overall aesthetics.
Conclusion
While the VLC media player enables you to add and embed subtitles to all your videos, things can quickly get more complicated than you'd like. To simplify processes, auto-generate your subtitles with a single click and streamline your video editing, rely on Wondershare DemoCreator.
FAQ
-
Can I permanently add subtitles using VLC?
Yes, VLC enables you to permanently add subtitles to all your videos as long as you have the right corresponding subtitle file on hand.- Launch VLC and go to Media > Stream;
- Click +Add and select the video you want;
- Check the Use a subtitle file box and click Browse to select the subtitle file you want to use;
- Go to Stream > Next, select File, and click Add;
- In the new window, click Browse and enter the video's name (with the right file extension), then click Save > Next;
- Check the Activate Transcoding box and click on the Wrench icon;
- Go to the Subtitles tab and check the Subtitles and Overlay subtitles on the video boxes;
- Finally, click Save > Next > Stream.
-
How can I add subtitles using VLC on my iPhone?
Yes, you can add subtitles to your videos using the VLC media player on your iPhone. Just follow these simple steps:Download/create the right subtitle for your video;Move the file to your Movie/Video folder;Add the subtitle to your video while it's playing. -
Can I use VLC to add subtitles to movies?
Yes, VLC enables you to add subtitles to movies seamlessly. If you have the right subtitle file, simply open the movie in VLC and drag and drop the subtitle file. You can also use VLC to search for, download, and add subtitles to your movies. -
What are the system requirements for adding subtitles using VLC?
VLC supports all Windows operating systems, so you can easily use it to add your subtitles regardless of your OS. It also has full Mac, Android, and iOS support, though you might need an earlier VLC version if you're using an older device.


