
Green screens are some of the most valuable tools in the video editing industry, as they allow filmmakers to put their subjects in surreal worlds and add breathtaking backgrounds in post-production.
However, this helpful tool must first be removed from the scene's background, and many video editors rely on Adobe Premiere Pro for this task due to the app's countless editing features and tutorials.
Yet, despite these tutorials, green screen removal in Premiere Pro can be quite complex. That's why today's article will delve deep into the subject and teach you how to remove green screen backgrounds in Premiere Pro.
Table of Content
How To Remove Green Screen in Premiere Pro - All Steps
As many novice video editors often feel overwhelmed by the app's features, we've created a detailed guide you can refer to for navigation. Below are the comprehensive steps you can follow for quick and efficient Adobe Premiere Pro green screen removal:
- Open Adobe Premiere Pro on your machine and create a new project.
- Import your video clip with a green screen and drag and drop it into the app's timeline.

- Select the layer with the green screen, then navigate to Effects in the top right corner.
- Search for "key" and select the Ultra Key effect, then drag the effect onto your clip's green screen layer on the timeline.

- The effect's settings are on the screen's left side, where you must select the Eyedropper tool.

- Using the Eyedropper, click on the green part of your video, and it'll automatically remove it.

You can select the bottom layer from there and adjust its position to fit the previously green-colored area. The "Pin" effect can also help to perfectly adjust the position of your bottom layer's background to the freshly removed green screen.
Tips for Efficient Premier Pro Green Screen Removal
While Adobe Premiere Pro's Ultra Key effect is an efficient green screen removal tool, you'll quickly get tired if you must redo the steps above for multiple videos. That's why we've included a few tips that can help editing productivity, and they include the following:
Correct Colors Before Applying Key Effects
Adjusting your video project's colors allows you to create contrast between the green parts and the subject of your clips. The app's Lumitri color panel plays a vital role here, allowing you to modify exposure, highlights, contrast, shadows, black points, etc., and you can get to it by changing your workspace to Color.
Clean Up After Using a Key Effect
While Adobe Premiere Pro's Ultra Key tool works wonders for green screen removal, you can vastly improve its effects with a few additional adjustments. To do that, you can change the Ultra Key's Output from Composite to Alpha Channel to track the changes and play with various settings below Matte Generation, Matte Cleanup, and Color Correction.
Organize Layers and Utilizing Transparency Grid
Applying additional color correction effects is a breeze with organized layers, allowing you to add other Lumetri color effects on top of your footage without getting lost in your video edits. Furthermore, using the Transparency Grid will let you keep the progress of your green screen removal process.
How To Export Your Final Composition in Premiere Pro
Once you've successfully removed the green screen in Adobe Premiere Pro, you should check your finalized clip and render and export your video. Here are the steps you'll need to follow:
- Play the edited video a few times to ensure no discrepancies.
- Navigate to File > Export > .edia (since keyboard shortcuts are fantastic for efficiency, hitting CTRL + M is a better option). It'll open up the Export Settings window.

- To save the final video as an MP4 file, select H.264 under Format. Choosing "Match Source - High bitrate" under Preset is also recommended, but you can adjust these settings to your liking.

- Clicking on the blue name next to the Output Name will allow you to change the exported video's title and export destination. Then, you can hit the Export button.

It's worth noting that selecting the Video tab, scrolling down, and checking off boxes called "Render at Maximum Depth" and "Use Maximum Render Quality" can improve the final quality of your clip.
Premiere Pro Green Screen Removal Alternative - Simple and Affordable
Despite countless tutorials available on YouTube, many video editors find Adobe Premiere Pro overly complex and overloaded with features, making the app challenging to use. On top of that, all Adobe products come through monthly subscriptions, which can be expensive in the long run.
That's why countless video-editing enthusiasts look for more affordable and straightforward video editing tools, where Wondershare DemoCreator emerges as the top solution.
This incredibly potent and user-friendly video recorder and editor has AI-powered tools and simple content-sharing elements, making navigation effortless and the app beginner-friendly. In addition to removing the green screen, it can also change the video background without a green screen.
While we're sure you'll effortlessly find your way around Wondershare DemoCreator, we still included a comprehensive green screen removal guide with detailed how-to steps and images, which you'll see below:
- Launch the app and then drag and drop a clip into its Media Library to import it.
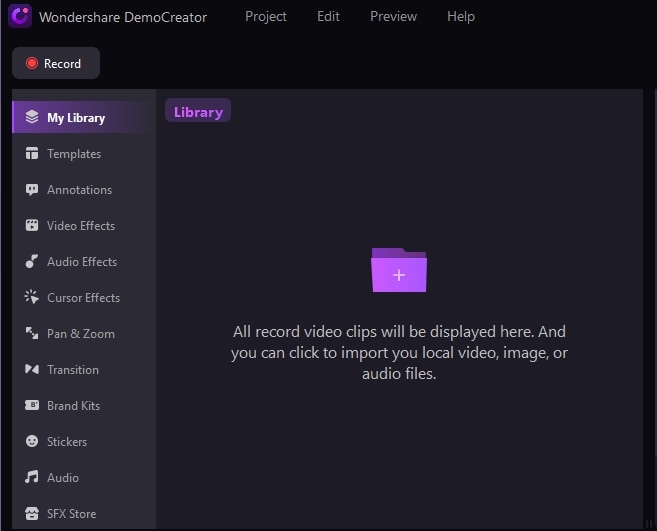
- Once imported, you can drag and drop the clip from the Media Library into the timeline below it.
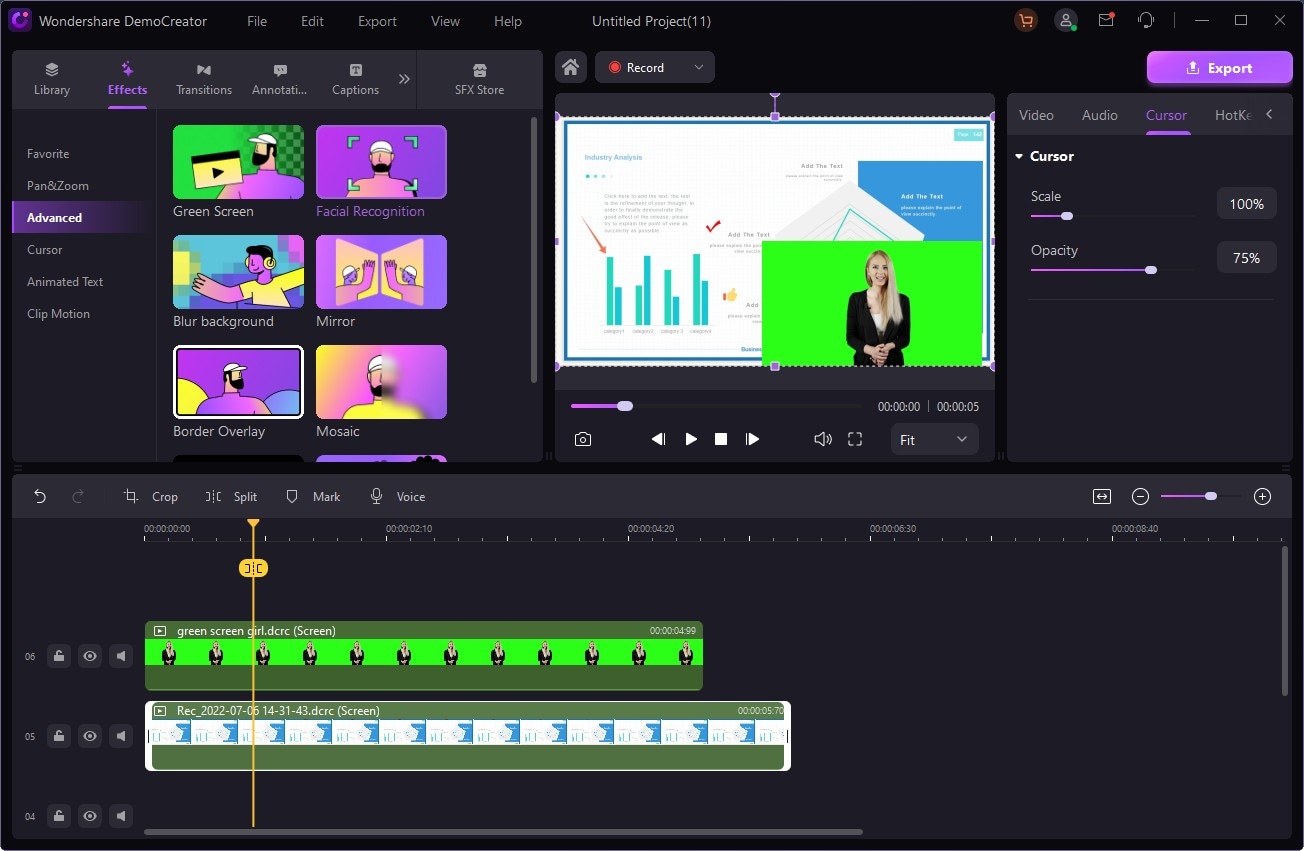
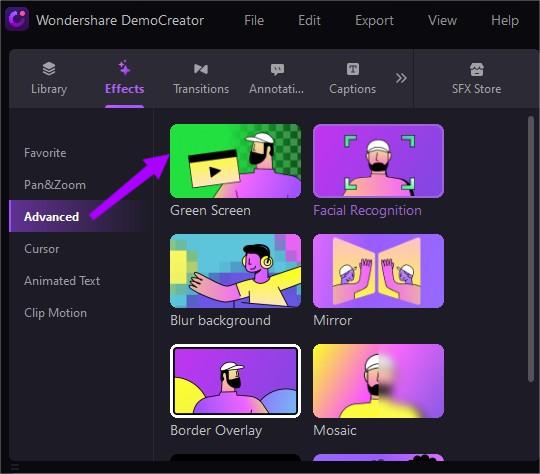
- Click Effects in the top left and head to Advanced > Green Screen.
- Drag the Green Screen effect onto your video, and tick Enable in Green Screen Properties on the right of the app's screen. The app's AI engine will automatically remove the green screen.
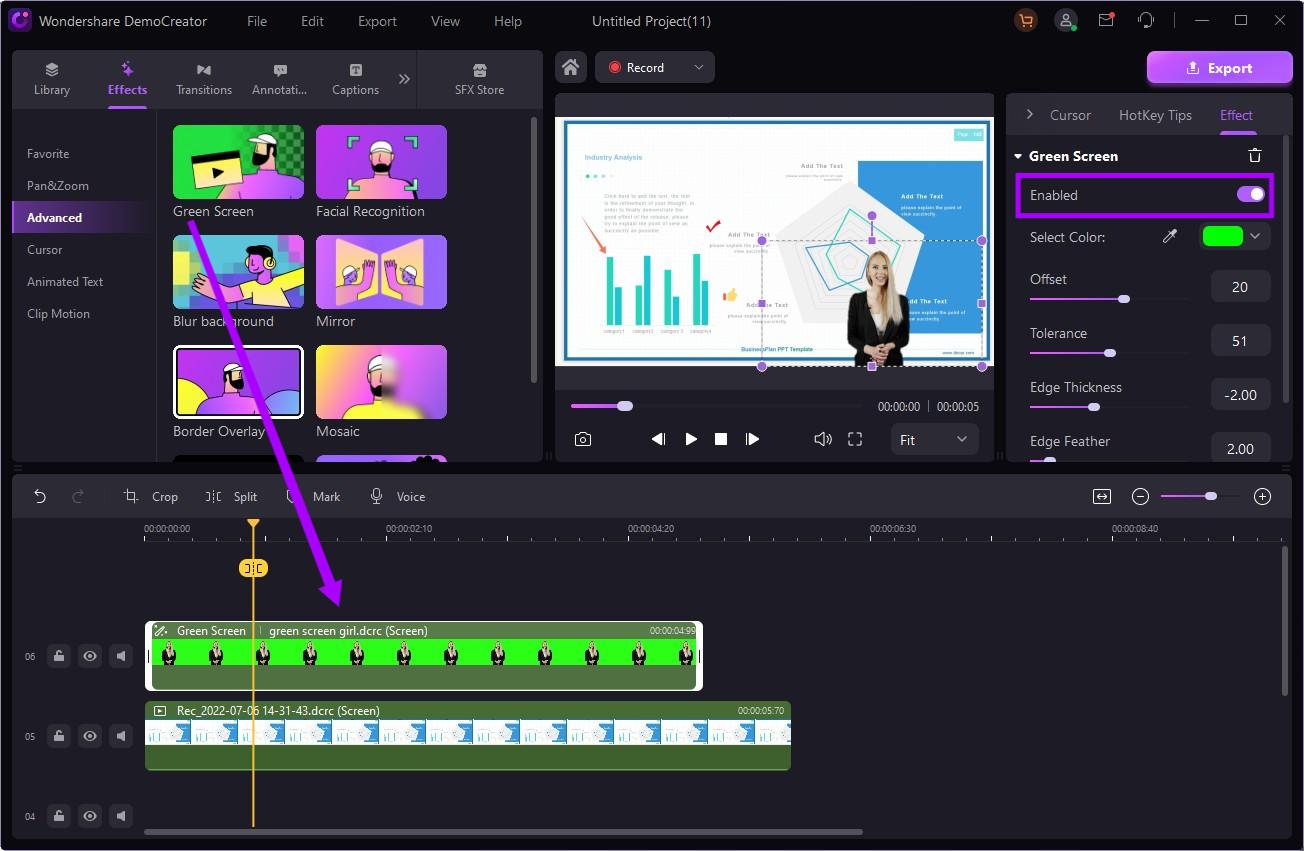
- If you're satisfied with the video, export it. Alternatively, play with the Green Screen effect's settings like Offset, Tolerance, Edge Feather, Edge Thickness, and Alpha Channel.
That's all there is to it, and you're bound to complete the green screen removal task much quicker than you would with Adobe Premiere Pro. Of course, you can also perform these actions on macOS or your browser through an app called DemoAir, an online version of DemoCreator.
Conclusion
Despite being some of the most widely used tools in video creation processes across different industries, green screens must first be removed to let video editors transfer their clip's subjects into other realms and breathtaking scenes during post-production.
Most video editors use Adobe Premiere Pro green screen removal tools to handle this task. Although the app can be pretty complex, it's also a fantastic option thanks to its templates and presets, keyboard shortcuts, organization features, and numerous YouTube tutorials.
However, despite these helpful elements, many video editors still dislike Adobe Premiere Pro's incredible complexity, countless confusing features, and steep monthly subscriptions, which can be expensive in the long run.
In that case, a more affordable and straightforward video editing tool like Wondershare DemoCreator makes much more sense, as its AI-infused tools allow users to quickly and efficiently remove green screens in just a few simple steps.
FAQs
-
How is Ultra Key in Premiere Pro used for green screen removal?
Green screen removal in Premiere Pro usually involves using the app's Ultra Key effect, which you can apply to one of your video's layers. After using the effect, select the green color with the eyedropper tool to remove it. -
Can I use Premiere Pro to remove the green screen from videos?
Yes, you can use Adobe Premiere Pro for green screen removal, and here's how:- Launch the app and import your video as a new project.
- Open the app's Effects menu and find the Ultra Key effect.
- Select the Eyedropper tool and click on the green part of your video.
- You can also adjust the affected area using the app's Pin effect.
-
Can I use the Color Key effect to remove the green screen in Premiere Pro?
Adobe Premiere Pro's Color Key, also known as Chroma Key, allows you to remove the green color from your video. However, removing a green screen will require adjusting various other settings, which is why the app's Ultra Key is recommended.


