
Have you ever recorded the perfect audio track, only to discover an irritating buzz in the background? We understand how it feels.
The presence of hum and buzz in audio can ruin the quality of your recordings and frustrate your listeners. But the good news is that several advanced tools have been developed to fix the problem without compromising the quality of your audio.
In this guide, we'll cover everything you need to know to remove buzz from audio effectively. So, whether you're a podcaster or musician read on to learn the practical tips and tools to achieve crystal-clear sound.
In this article
Part 1: What Causes Buzz in Audio Recordings?

Electromagnetic and Electrical interference are some of the major causes of buzz in audio recording. This usually occurs when power cables and audio cables are positioned too close together. This interference can create a humming noise that's picked up by your recording device.
Another culprit is ground loops, which happen when there are differences in electrical potential between connected devices. Ground loops can cause a persistent low-frequency hum that can be difficult to remove without the right tools.
Faulty or low-quality cables can also contribute to buzz in audio. Worn-out cables or connectors can introduce noise into your recordings, as can poor-quality cables that lack proper shielding. Additionally, environmental factors such as fluorescent lights, wireless devices, and even household appliances can introduce unwanted noise into your audio setup. Understanding the common causes of buzz in audio recordings is the first step towards finding effective solutions.
Part 2:How to Minimize or Remove Buzz from Audio
Simple Ways to Reduce or Eliminate Hum Without Specific Products
Before investing in specialized software or hardware, there are a few simple steps you can take to minimize or remove hum from your audio recordings. First, ensure that your audio cables are properly shielded and kept away from power cables. This can reduce the risk of electrical interference. Additionally, using balanced audio cables can help prevent ground loops and reduce noise.
Another effective method is to check your recording environment for sources of interference. Turn off any unnecessary electronic devices, and consider using a power conditioner to stabilize the electrical supply to your recording equipment. Grounding all your equipment properly can also help eliminate ground loop issues. If you're still experiencing hum, try repositioning your recording setup or using acoustic treatments to reduce environmental noise.

Here are Three Tools to Reduce Hum in Recordings
If the above tips do not work, don’t panic. You can use one of the following tools to educe hums in your recording;
1. EQing
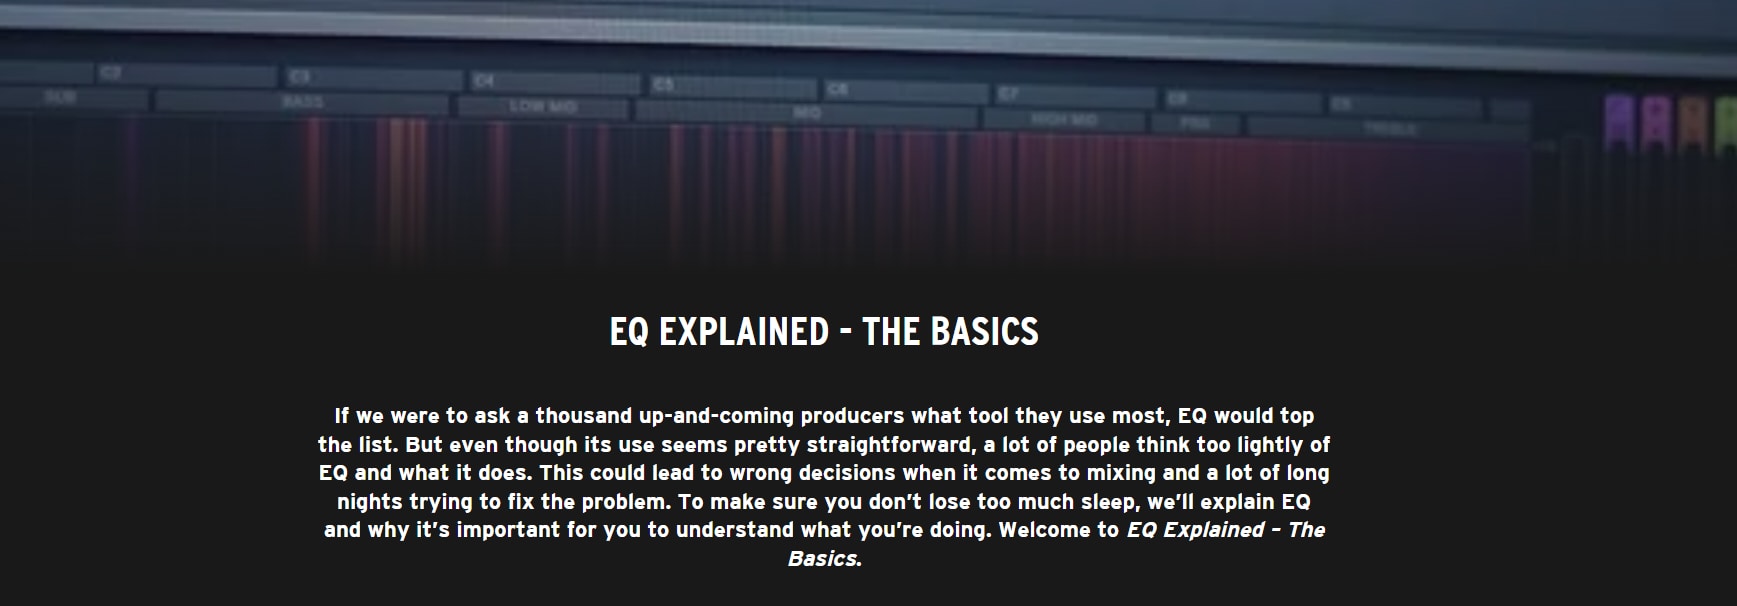
EQing, or equalization, is a powerful technique for removing hums from audio recordings. It allows you to adjust specific frequency ranges, effectively targeting unwanted noises such as electrical hums typically found in the 30-150 Hz range. By visualizing the audio spectrum, you can easily identify and reduce these frequencies without compromising the overall sound quality.
Incremental adjustments are recommended to ensure that the desired audio remains intact while minimizing the hum. Many digital audio workstations (DAWs) include EQ tools, making EQing an accessible and efficient method for enhancing audio clarity. Its versatility makes it one of the best options for tackling persistent hums in various recording scenarios.
Key Features:
- Precise frequency targeting
- Adjustable filters for fine-tuning
- Real-time audio analysis
- Compatible with most digital audio workstations (DAWs)
- User-friendly interfaces
2. Noise Gate

A noise gate is another useful tool for removing hum from audio recordings. It works by cutting off audio signals below a certain threshold, effectively silencing unwanted noise.
Key Features:
- Threshold control for customization
- Attack and release settings for smooth transitions
- Sidechain input for advanced routing
- Visual feedback for real-time adjustments
- Compatibility with various audio formats
3. Prevention

Prevention is often the best cure when it comes to audio hum. Taking proactive measures can save you time and effort in post-production.
Key Features:
- High-quality, shielded cables
- Proper equipment grounding
- Power conditioners for stable electricity
- Acoustic treatments for recording environments
- Regular equipment maintenance
Part 3: Using DemoCreator to Effectively Remove Buzz from Audio

An ultimate solution for removing buzz from audio recording is the DemoCreator Video and Audio Noise Reducer tool. This software boasts advanced AI noise removal tools that enables you to nautomatically remove buzz and any type of background noise from audio without hassle.
With DemoCreator, you can create studio-level quality audio and video clips, and it provides you access to a wide range of royalty free effects that you can use to enhance your audio and video clips. It also supports almost all audio and video formats, enabling you to easily import recorded audio/video files and remove buzz from them within a few minutes.
Key Feature
1. Automatic Background Noise Reduction with 1-Click:
DemoCreator utilizes advanced AI algorithms to automatically identify and eliminate various types of audio noise. This includes:
- Keyboard clicks
- Hums
- Hissing
- Wind sounds
- Crackling noises
The one-click functionality allows users to quickly remove persistent or intermittent unwanted sounds, making it user-friendly for both novices and professionals.
2. Support for Popular Audio and Video Formats
The tool supports a wide range of popular audio and video formats, enabling users to work without the need for file conversion. Supported formats include:
- MP4, MOV, AVI, WMV, FLV
- OGG, AU, VOB, MTS, WEBM
- MP3, MKV, GIF, M4A
3. High-Fidelity Noise Removal
DemoCreator ensures that while noise is removed from audio and video files, the quality of the remaining sound—such as background music or voice—is preserved. The tool also features an AI Speech Enhancer that improves voice clarity and overall sound quality.
4. Efficient Audio and Video Editing Features
Beyond noise reduction, DemoCreator offers a comprehensive suite of editing tools that include:
- Cropping and trimming
- Adding video effects
- AI voice changer and generator
- Subtitle generation
- Speed adjustments
- Background removal
- Transition effects
- Access to royalty-free background music
Step-by-Step Instructions for the DemoCreator Audio Cleanup Tool
Step 1: Install and launch the DemoCreator program on your computer. Then, click the Video Editor.

Step 2: Click on the + icon and upload the audio file that you want to remove buzz from.

Step 3: Drag the file from the Media Library and drop it to the timeline.
- Navigate to the “Properties” panel on the right and choose the Audio tab.
Step 4: Under Denoise, turn on “Normal Noise” option and adjust the noise cancellation value.

- You can also change Noise Volume, Noise Level, and Gain for hissing and humming noises.
Step 5: Once you’re satisfied with the result, click on the Export button at the top right corner to save or share the audio file.

In summary, high-frequency hum can be very effectively eliminated from audio recordings using DemoCreator's advanced noise reduction and audio cleanup technology.The DemoCreator audio cleanup tool uses precise algorithms to locate and eliminate unwanted hum, streamlining the process and ensuring that you get clear, professional-quality audio without the need for manual adjustments. By following the step-by-step instructions outlined above, you can easily enhance your recordings and enjoy clearer sound.
Conclusion
Removing buzz from audio recordings is crucial for achieving professional-quality sound. By understanding the common causes of hum and utilizing tools like EQing, noise gates, and DC’s Audio Cleanup Tool, you can significantly improve your recordings. Remember to take preventative measures to minimize the risk of hum, and explore different techniques to find what works best for your setup. Start enhancing your audio quality today by implementing these strategies and see the difference it makes in your projects.
FAQs
-
How do I get rid of background humming in Audacity?
To remove background humming in Audacity, start by highlighting a section of the audio that contains only the hum. Then go to "Effect" and select "Noise Reduction." Click "Get Noise Profile" to capture the hum’s frequency. Highlight the entire audio track, return to "Noise Reduction," and click "OK" to apply the reduction.
-
How to eliminate hum in audio?
Eliminating hum in audio involves identifying the source of the hum and using tools like EQing, noise gates, or specialized software like DC's Audio Cleanup Tool. Ensuring proper cable management and grounding can also help prevent hum from occurring.
-
How do I get rid of hum in audio recording?
To get rid of hum in an audio recording, use high-quality, shielded cables and keep them away from power sources. Utilize noise reduction tools such as EQing and noise gates, or consider investing in specialized noise reduction software for more efficient results.


