
Videos are the new kings of the internet world. Among all the video platforms, YouTube stands tall as the biggest one. Millions of creators share their videos on YouTube every day. But just uploading a video is not enough to get people's attention.
Adding a great YouTube voice-over can make your content much more interesting and engaging. Whether you are a vlogger, YouTuber, or a business trying to grow your brand's reach, mastering voiceovers is very important.
This comprehensive guide will walk you through the process of how to voice over YouTube videos, unlocking the potential to create compelling and engaging content.
In this article
Part 1: How to Voice Over YouTube Videos
There are several methods and tools available to add voice over on YouTube. In this section, we'll explore three popular options: Wondershare DemoCreator, Adobe Premiere Pro, and Speechify Voice Over Generator.
Method 1: How to do YouTube Voice-over Using Wondershare DemoCreator
Wondershare DemoCreator is the perfect choice for most YouTubers who want to add awesome voiceovers to their videos. It's really easy to use but still packed with tons of cool features.
The simple and straightforward interface makes it a breeze to get started, even if you're new to video editing. But it also has specialized tools just for recording voiceovers, plus loads of annotations and graphics you can add to make your videos look super professional.
In short, DemoCreator is the complete package – it gives you everything you need to create mind-blowing voiceovers for your YouTube videos without any complicated fuss or insane costs.
Here's how to get started:
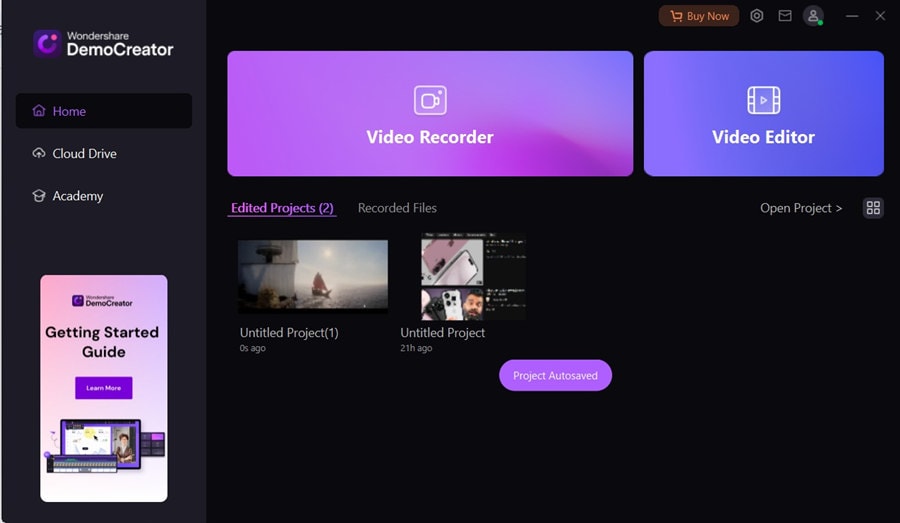
Step 1: Install Wondershare DemoCreator on your computer. Launch the software and select the "Video Recorder" option from the main menu.
.
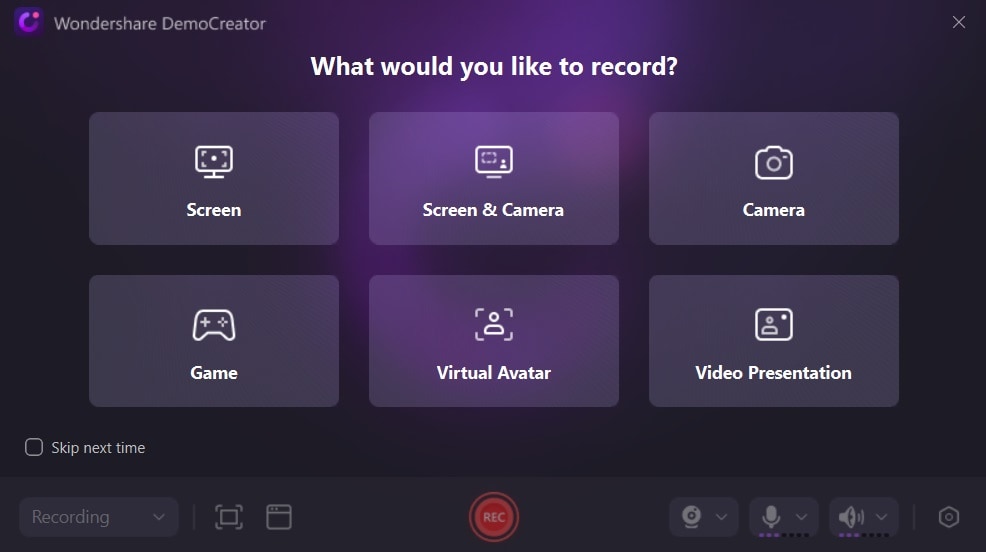
Step 2: Now, select the “Screen & Camera” option.
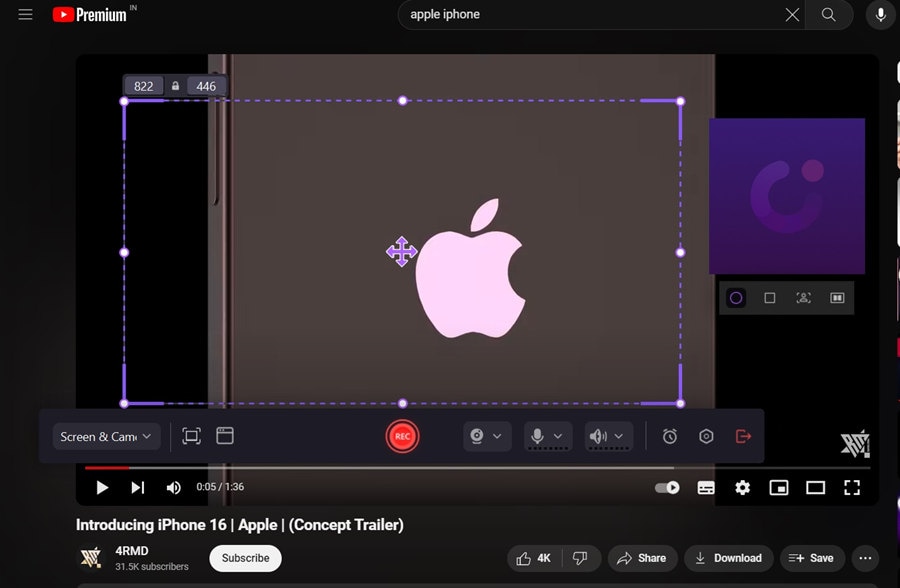
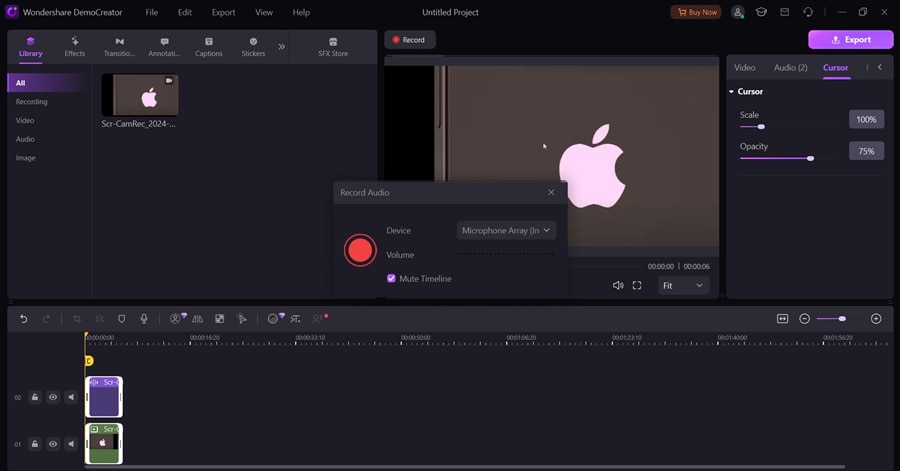
Step 3: Open YouTube and adjust the recording area and configure additional settings if needed. When ready, click the "Rec" button and begin narrating your voiceover while the video plays in the preview window. Choose your preferred audio input device (e.g., microphone or audio interface) and adjust the recording settings as desired.
Step 4: Once you've finished recording, you will be redirected to the “Video Editing” section. Here you can review and edit the voiceover track as needed.
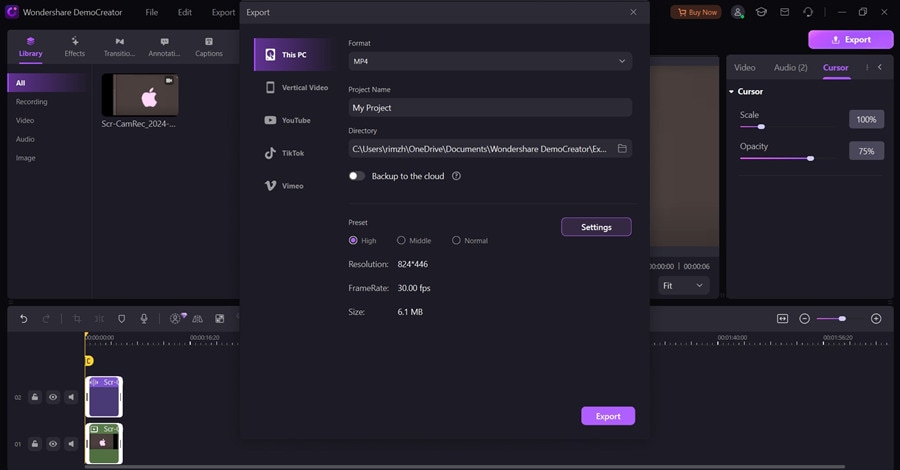
Step 5: Export your project as a video file compatible with YouTube's requirements.
Wondershare DemoCreator offers a range of additional features, including the ability to add annotations, callouts, and other visual elements to enhance your videos further.
Method 2: How to Voice Over for YouTube Videos Using Adobe Premiere Pro
Adobe Premiere Pro is a professional-grade video editing software widely used by YouTubers, filmmakers, and video editors. While it may have a steeper learning curve than some other options, Premiere Pro offers advanced voice-over tools and features.
Here's how to get started:
Step 1: Download and install Adobe Premiere Pro on your computer. Launch the software. Import the YouTube video clip if you want to add a voiceover. Add a new track by clicking the timeline header and selecting "Add Tracks."
Step 2: Ensure your microphone is set up. Click "Audio Panel," then "Audio Track Mixer." Find the track you’ll add your voiceover to and click "." to enable recording.
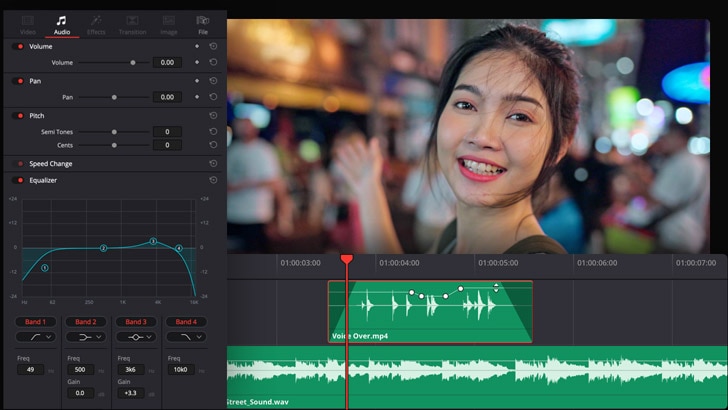
Step 3: Move the play head to where you want to start recording. Right-click, choose "Voice-Over Record Setting," and then click "Record."
Step 4: Finish the recording by clicking the "Stop Recording" button or pressing the space bar.
Adobe Premiere Pro offers a wide range of advanced features, including audio cleanup tools, sound effects, and music integration, allowing you to create highly polished and professional-quality voiceovers.
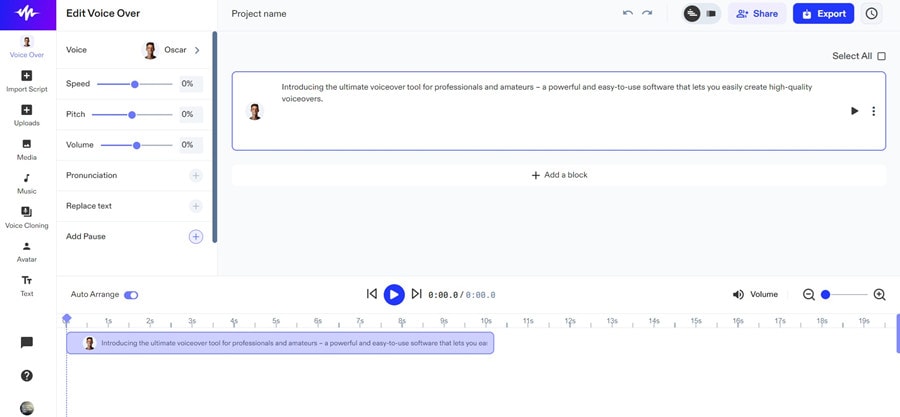
Method 3: How to Voice Over on YouTube Videos Using Speechify Voice-Over Generator
Speechify stands out as one of the leading online AI Voice Over generators. It offers the capability to produce high-quality, human-like voice over recordings in real time. Whether you need to narrate text, videos, explainer content, or any other type of material, Speechify provides versatile solutions to suit any style.
Here's how to use it to create YouTube voice over.
Step 1: Visit the Speechify Voice Over Generator website. Click on the “Create Voiceover” option to get started.
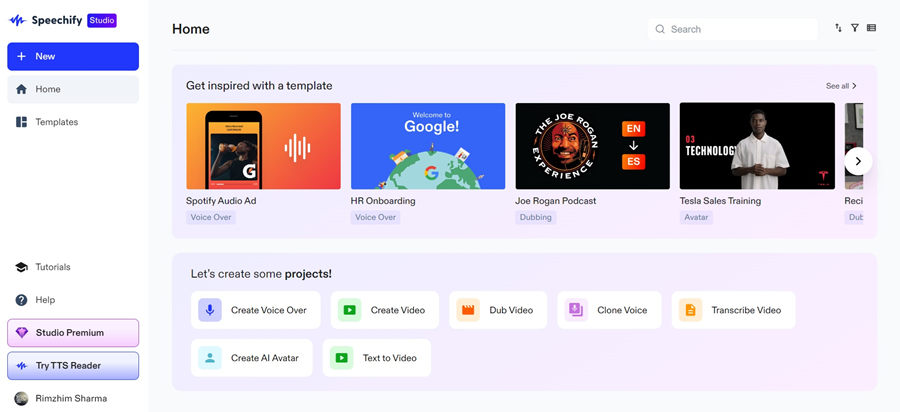
Step 2: Hit the “Import Script” option from the left menu pane. Alternatively, click on the “Add a Block” option to write a new voiceover script for your video.
Step 3: Import the voiceover audio file into your video editing software of choice (e.g., Windows Movie Maker, iMovie, or any other basic video editor). Synchronize the voiceover track with your video footage and make any necessary adjustments.
Step 4: Export your project as a video file that meets YouTube's requirements.
Speechify Voice Over Generator is a convenient option for those who need a quick and easy solution for adding voiceovers to their YouTube videos, especially if you don't have access to professional video editing software.
- Record customized screens with audio and edit them in different tracks.
- Capture gaming videos, tutorials, and presentations and then edit them in one tool.
- Built-in unlimited editing templates, special effects, and other sources.
- Supported export to MP4, MOV, MKV, GIF, and other formats.

Part 2: Why are YouTube Voice Overs Important?
1.1 Enhancing Viewer Engagement
A well-executed voiceover YouTube can instantly hook viewers, adding depth and personality to your content. By providing context, and narration, and guiding the viewer through the video, a voiceover can significantly enhance engagement and encourage viewers to stay tuned until the end.
1.2 Improving Accessibility
Inclusivity is a vital aspect of content creation, and voiceovers play a pivotal role in making your videos accessible to a wider audience. For individuals who are visually impaired or have difficulty processing visual information, a voiceover can provide an auditory experience, ensuring that your content reaches and resonates with a diverse audience.
1.3 Establishing Brand Identity
A consistent and recognizable voice over on YouTube can become an integral part of your brand identity. Using the same voice or style in multiple videos creates familiarity and a strong connection with your audience. This consistent brand voice builds loyalty and recognition, making your content stand out from competitors.
1.4 Conveying Complex Information
Some topics are hard to explain with visuals alone. A voiceover can simplify complex ideas, explain details, and add context. This helps viewers understand better and makes your content more valuable, showing your expertise.
Part 3: Tips for Creating a Good Engaging YouTube Voice Over
While the technical aspects of adding voiceovers are crucial, there are several additional factors that can elevate the quality and impact of your voiceovers. Here are some tips to help you create engaging and captivating voiceovers:
- Prepare Your Script: A well-written script is the foundation of a great voiceover. Take the time to craft a clear and concise script that effectively conveys your message. Use simple language, break down complex concepts into digestible chunks, and ensure a logical flow throughout the script.
- Practice and Rehearse: Practicing your voiceover delivery is essential for a polished and professional result. Read through your script multiple times, focusing on your pacing, inflection, and overall tone. Identify areas where you may need to pause or emphasize certain points, and make adjustments as needed.
- Invest in Quality Audio Equipment: While it's possible to record voiceovers using a basic microphone, investing in quality audio equipment can significantly improve the overall sound quality. Consider purchasing a condenser microphone, a pop filter (to reduce plosive sounds), and a pair of headphones for monitoring your audio.
- Create a Suitable Recording Environment: The environment in which you record your voiceover can greatly impact the audio quality. Choose a quiet space with minimal external noise and echo. Consider using acoustic treatment materials, such as sound-absorbing panels or blankets, to create a more controlled recording environment.
- Vary Your Tone and Inflection: Monotone voiceovers can quickly become tedious and disengaging for your audience. Aim to vary your tone, inflection, and pacing throughout the voiceover to maintain interest and convey the intended emotions or emphasis effectively.
- Synchronize with Visual Elements: When adding a voiceover to your YouTube video, it's essential to ensure that the audio and visual elements are synchronized. Pay close attention to the timing of your narration and make adjustments as needed to align with the visuals on screen.
Conclusion
Adding a voiceover to your YouTube videos can be a game-changer in terms of engagement, accessibility, and brand identity. By following the steps outlined in this guide and implementing the tips provided, you'll be well-equipped to create compelling and engaging voiceovers that elevate your content and captivate your audience.
The key to success lies in preparation, practice, and a willingness to continually refine and improve your skills. Whether you're a seasoned YouTuber or just starting, mastering the art of voiceovers can set you apart in the ever-growing world of online video content creation.
So, embrace the power of voiceovers, experiment with different techniques, and let your unique voice shine through your videos. With dedication and perseverance, you'll be on your way to creating truly captivating content that resonates with your audience and leaves a lasting impact.
FAQ
-
Do I need expensive equipment to record a voiceover for YouTube?
While professional-grade audio equipment can enhance the quality of your voiceovers, it's not strictly necessary, especially when starting out. Many YouTubers have achieved great results using affordable USB microphones and basic audio editing software. As your channel grows, you can consider investing in more advanced equipment. -
Can I use text-to-speech (TTS) instead of recording a voiceover myself?
While text-to-speech technology has come a long way, it may still sound somewhat robotic or lack the natural inflection and emotion of a human voice. For a more engaging and personal experience, it's recommended to record your own voiceovers whenever possible. However, TTS can be a viable option for certain types of content or if you're unable to record your own voice. -
How do I choose the right voice for my YouTube channel?
The choice of voice for your voiceovers depends on your channel's content, target audience, and overall brand personality. Consider factors such as age, gender, tone, and accent. It's generally advisable to use a consistent voice across your videos to establish a recognizable brand identity.


