

Adding subtitles to MKV files can be highly beneficial. If you want to watch a movie, you can add subtitles to gain better comprehension. On the other hand, if you wish to share your MKV file, adding subtitles can expand your reach, make your video go viral, and improve engagement.
We've prepared a guide to help you add subtitles to MKV videos quickly. First, we'll explain what MKV files are and introduce the best tools to add subtitle tracks to MKV files, providing steps for each. Then, we'll help you select the solution to embed SRT into MKV files. Let's dive in.
Table of Content
Short Overview of MKV Video Files
Before we begin, let's explain what MKV video files are. MKV, or Matroska Video, is a multimedia container format that allows you to store unlimited video, audio, and subtitles in one file. That means you can embed as many subtitle tracks as you want into one MKV video file.
MKV files are a preferred video format as they're open-source and can't become outdated. Moreover, they have features like high definition, metadata support, online streaming compatibility, and subtitle track support. Furthermore, MKV files are compatible with all operating systems, including Windows, macOS, iOS, Linux, etc.
How To Add Subtitles to MKV Files
We've prepared the top five tools to help you quickly merge SRT with MKV files. With these guides, you'll have complete MKV files with SRT quickly.
Way 1. Add Subtitles to an MKV Video Using Wondershare DemoCreator
One of the best tools for adding subtitles to MKV files is Wondershare DemoCreator. It's the ultimate video solution, allowing you to record, edit, and share your videos. This incredible tool can help you add and edit your subtitles with zero effort. The best part is that Wondershare DemoCreator supports almost all media file types, including MKV.
Follow these steps to add subtitles to your MKV files using Wondershare DemoCreator:
- Download and install Wondershare DemoCreator on your computer.
- Go to Video Editor and select Import to add your MKV file. Drag the MKV file to the timeline
- Click the Captions tab at the top of the screen and click Local Caption to import your SRT file.

- Double-click the uploaded subtitle to add it to the timeline.
- Edit, customize, and adjust the subtitle if necessary.

- Click Export to save your final MKV file with subtitles or directly share it on social media.
Suppose you don't have a subtitle file for your video or want to add subtitles quickly. In that case, you can use Wondershare DemoCreator's AI Caption Generator feature that automatically generates subtitles for your videos. Wondershare DemoCreator Auto Caption allows you to generate auto subtitles with little to no effort.
Follow these steps to generate subtitles for your MKV files using Wondershare DemoCreator automatically:
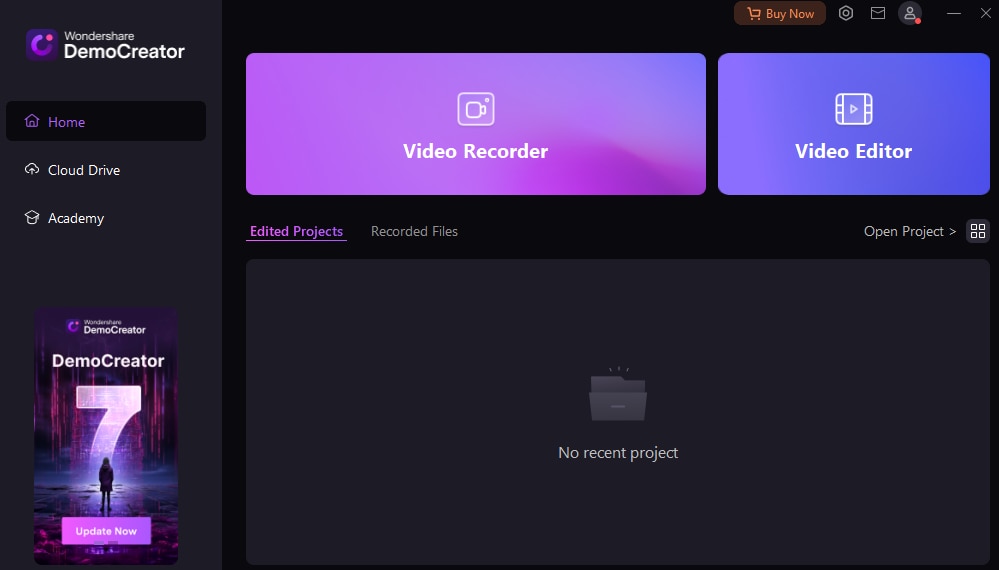
- Download and install Wondershare DemoCreator on your computer.
- Go to the Video Editor section and log into your Wondershare account

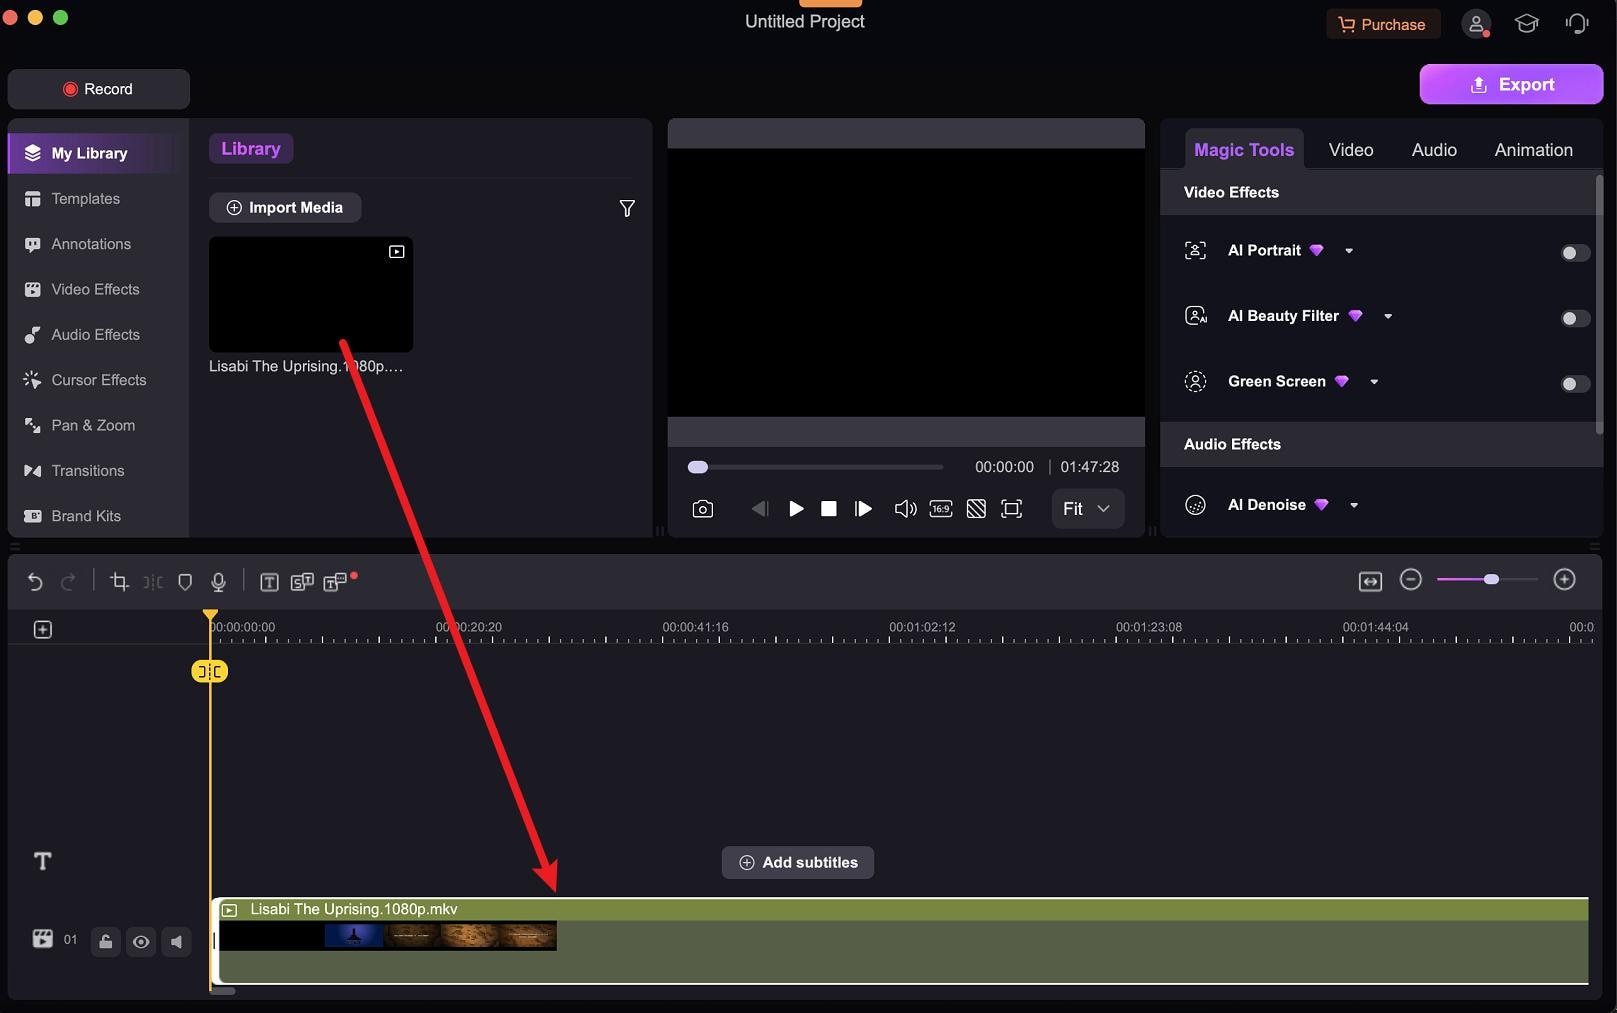
- Go to the Library section and press the + icon to add your MKV video file. Once it's uploaded, drag it to the timeline.
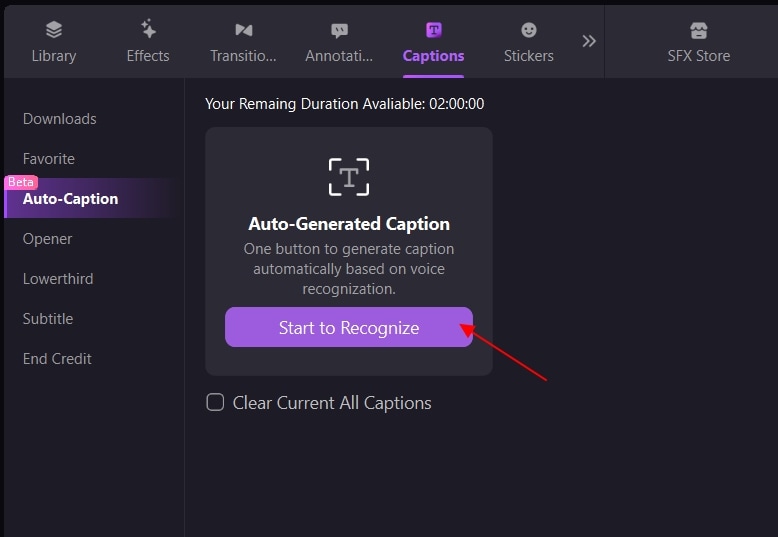
- Go to the Captions tab and select the Auto-Caption feature from the left sidebar. Click Start to Recognize.
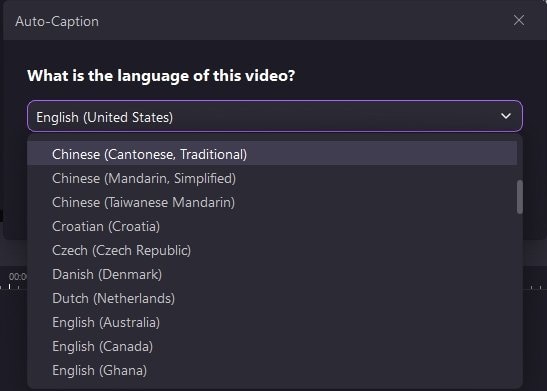
- Select the language of your video file and click OK.
- Let the program generate auto-captions. The length of the subtitle generation will depend on the length of your video. You can monitor the progress on the timeline, as it'll slowly appear there.
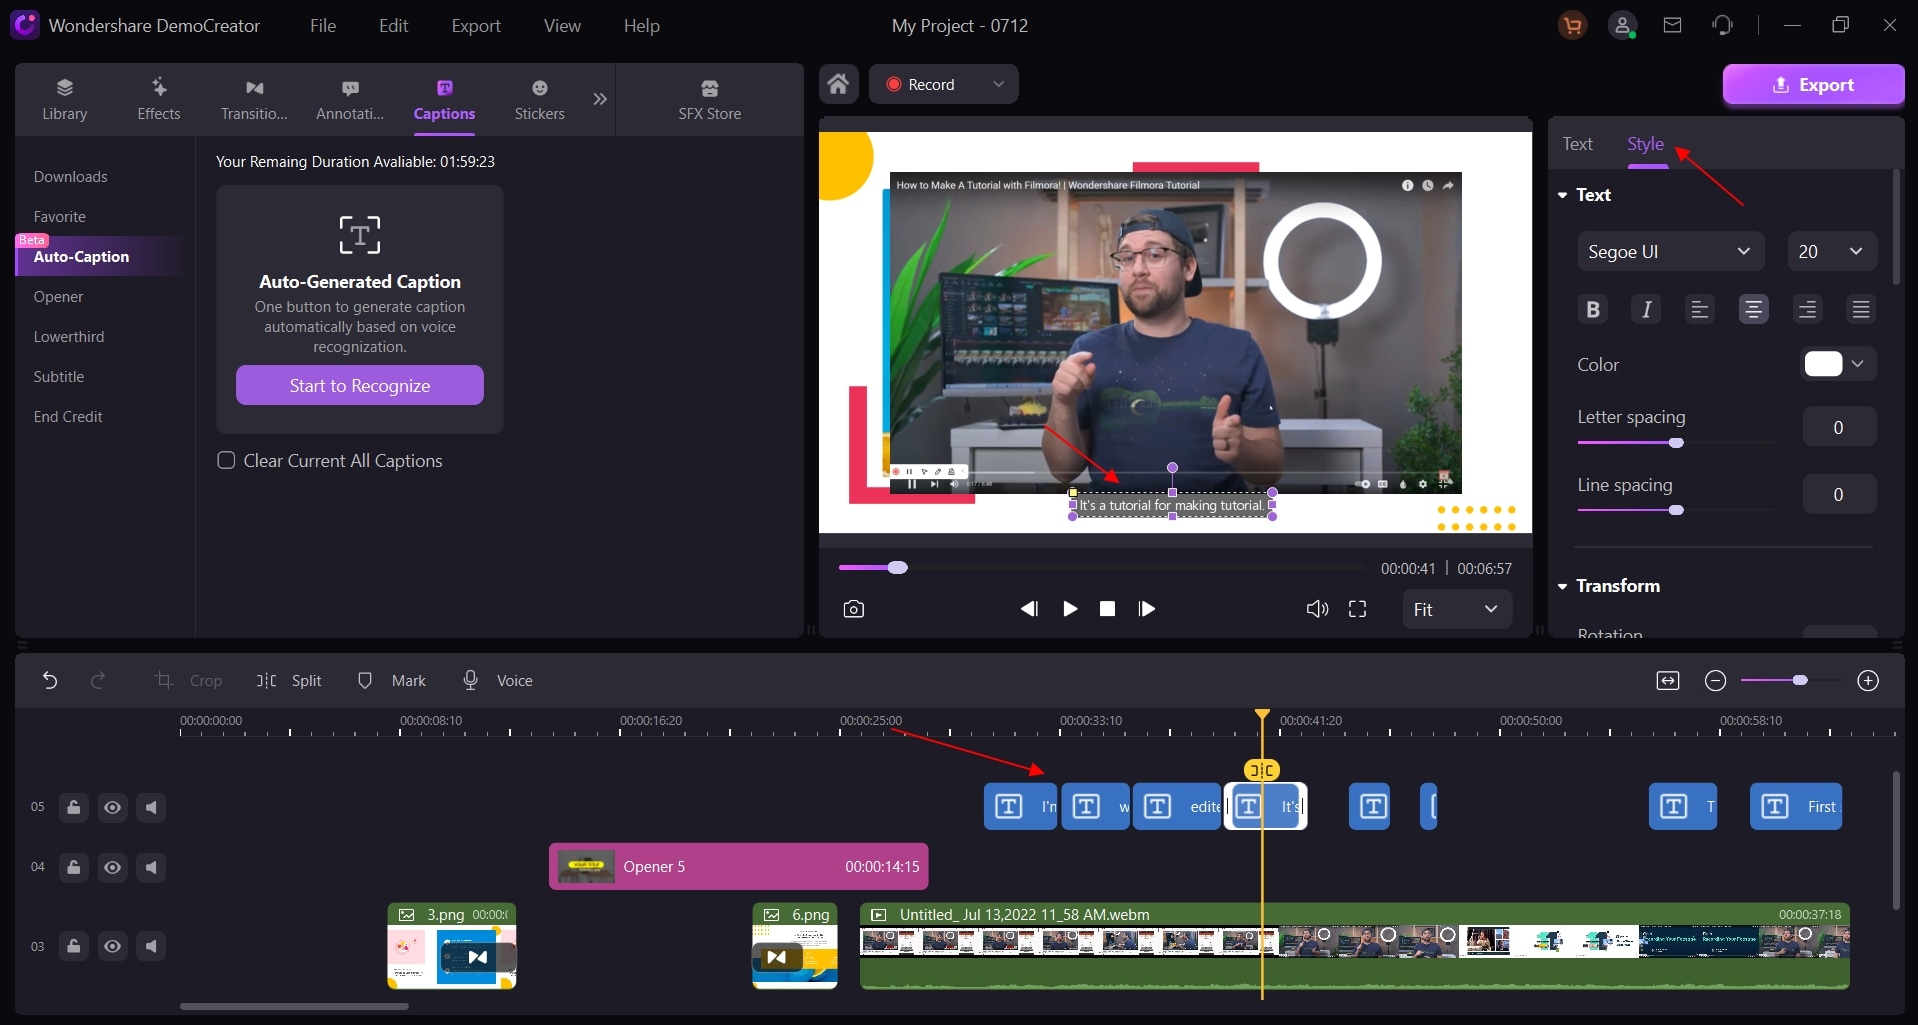
- Once you have your captions, you can customize their color, size, shape, and placement in the Properties panel.
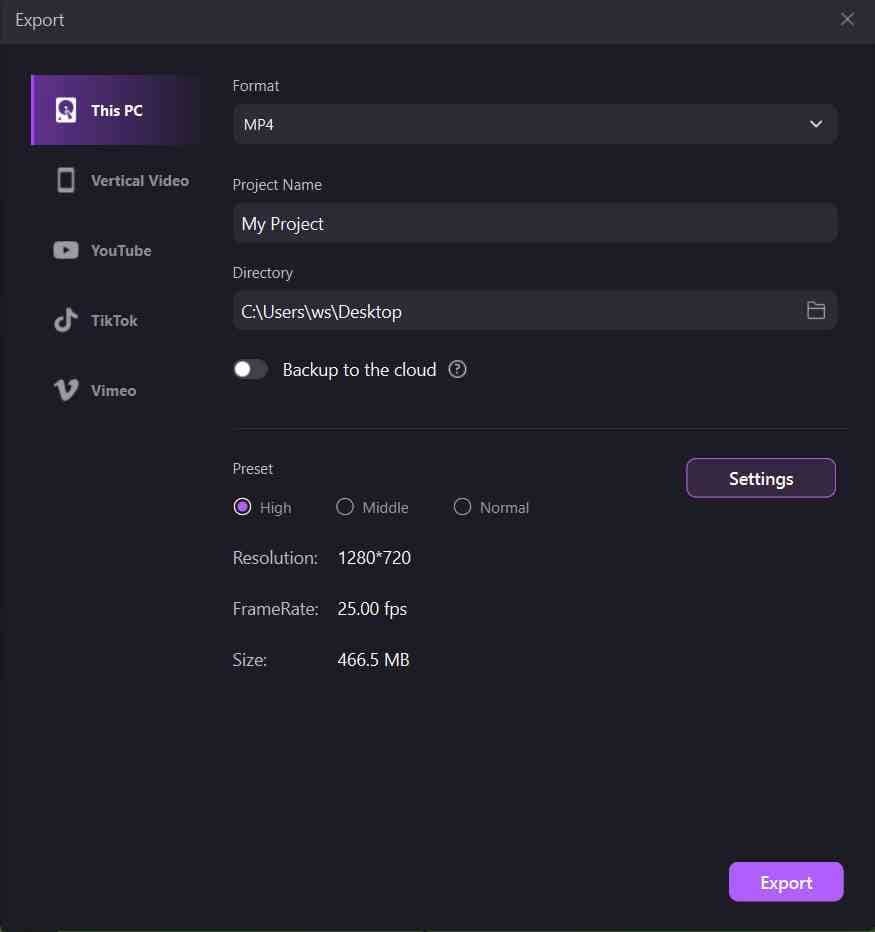
- Click Export in the top-right corner to export the video. Set the format, name, and destination, and download the video to your device. To shorten the process, you can also instantly share it on YouTube or TikTok.
Way 2. Add Subtitles to MKV With Adobe Premiere Pro
Adobe offers numerous programs to help you edit photos and videos with ease. It's one of the most popular editing solutions. Adobe Premiere Pro can help you edit your video files and enhance their quality. Moreover, it offers several features regarding subtitles in video files.
Adobe Premiere Pro allows you to manually or automatically add subtitles, animate, and customize them. Moreover, you can edit them with various editing tools and effects.
However, Adobe Premiere Pro doesn't support the MKV file format, so you must convert it to a different format (such as MP4, AVI, MOV, or WMV) before adding subtitles.
Once you convert your MKV file to a supported format, follow these steps to add subtitles to your video using Adobe Premiere Pro:
- Go to the Project window to start a new project.

- Right-click anywhere in the project box and select Import.

- Select your video and SRT file to import them into the Adobe project.

- Drag both files from the project box to the timeline.

- They should appear as separate tracks. You can overlay various effects and adjust them separately.

- Click the Tool icon in the upper-right corner and enable Closed Captions Display.

- Adjust the subtitle's size and placement.

- Press the Play button to check the subtitles' timestamps and placement. If they're incorrect, make the necessary adjustments.
- Save and export the video.
Way 3. Add SRT to MKV Using CapCut
CapCut is another helpful tool to add subtitles to your MKV files for free. CapCut is simple and intuitive, making it perfect for beginners. Moreover, the CapCut Auto Caption feature allows you to generate subtitles from MKV video in just a few clicks and lets you customize your subtitles to fit your needs.
You can access CapCut from your browser or download it from the App Store or Google Play. You can create a CapCut account via TikTok or Facebook. Moreover, the app allows you to instantly share your video on TikTok and other social media platforms.
To add subtitles to your MKV files using CapCut, follow these steps:
- Log into your CapCut account.
- Go to the Project tab and click Upload.

- Click the Text tab in the left sidebar, then select Auto Captions.
- Find the Create captions option and click Add.

- Paste your SRT file into the edit box and customize your subtitles.
- Once you finish editing them, click Export and choose if you want to download the MKV video or share it on TikTok.

Way 4. Add Subtitles to MKV Using MKVToolNix
MKVToolNix is one of the free, open-source tools that allows users to add subtitles to their MKV video files and customize them effortlessly. MKVToolNix supports several subtitle formats, including SRT, SUB, VobSub, WebVTT, and IDX.
People usually use MKVToolNix to convert video files to the MKV format. However, it also allows editing and adding subtitles to enhance the MKV videos' quality. Besides that, MKVToolNix can help you extract subtitles from MKV videos and change their metadata.
Follow these steps to embed subtitles into MKV files using MKVToolNix:
- Download and install MKVToolNix on your computer.
- Click Multiplexer in the left sidebar, then click Add source files.

- Import your MKV and subtitle track files into MKVToolNix.
- Click Start multiplexing to embed subtitles into the MKV file.

- Export the MKV file and play it on your media player.
Way 5. Add Subtitles to MKV Using VLC
VLC is a famous media player that lets users play and edit media files, fix minor errors, and add subtitles. It's a free video player, making it one of the most popular multi-purpose players.
Moreover, VLC is a cross-platform multimedia player, meaning you can use it on Windows, macOS, Linux, Android, and iOS. VLC supports almost all media files, including MKV. Thus, adding subtitles to your MKV videos is a breeze with VLC Media Player.
To embed subtitles into MKV files using VLC, follow these steps:
- Open VLC Media Player on your computer.
- Go to Media > Convert/Save.

- Click Add in the File section and upload your MKV file.
- Tick the checkbox next to Use a subtitle file and import your SRT file.
- Once you upload both files, click Convert/Save to start the process.

- Click the wrench icon next to Profile and go to Subtitles.

- Enable Subtitles and click Save.

Summing Up
Subtitles can help your MKV video files boost comprehension, advance SEO, reach broader audiences, and go viral. Therefore, add them to your MKV files immediately. MKV videos can hold unlimited video, audio, and subtitle files in one file.
You can use several tools to merge your SRT and MKV files, such as Wondershare DemoCreator, Adobe Premiere Pro, CapCut, MKVToolNix, and VLC.
FAQs
-
Can MKV store subtitles?
Yes, MKV files can store video, photo, audio, and subtitle files. Moreover, one MKV video can store unlimited files. -
Can I merge subtitles with MKV?
You can merge subtitles with MKV files using several video editing tools. -
Which subtitle formats can I add to MKV videos?
Various video editing tools support different subtitle formats. However, you can usually add SRT, SUB, VobSub, WebVTT, and IDX. -
Is there a free tool for adding subtitles to MKV files?
There are many free tools for adding subtitles to MKV files. The most prominent include Wondershare DemoCreator, CapCut, MKVToolNix, and VLC. -
How do you permanently add subtitles to MKV with VLC?
You can permanently embed subtitles into MKV files using VLC Media Player. To do that, you need to hardcode them:- Upload your MKV file and subtitle file to VLC.
- Set the desired output format and convert it.
- Save your MKV file with permanent subtitles.


